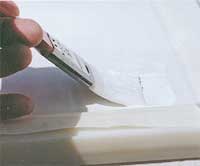
 Once your stretched paper is completely dry, begin coating it (or your panel or board) with the Golden Artists Colors Silverpoint / Drawing Ground. Tape off the edges and cover the clips with masking tape.
Shake the bottle of ground thoroughly. There is a little ball inside the bottle; shake for at least two minutes after you hear it rattling, then set the bottle aside for a while to allow all of those bubbles to subside.
Wet the application brush in clean water before applying the ground; this will help to keep the ground from caking up in the ferrule of the brush. I use a two-inch wide white sable brush called a Polar-Flow.
Squirt about an ounce of ground onto the paper or panel, and brush it out to cover the entire area. Work quickly but carefully, and keep a wet edge always, and smooth it out with long, even strokes in one direction. Allow to dry, then apply another coat in the cross-direction.
After every coat, thoroughly rinse out the brush. Don’t allow the ground to dry in the brush.
One coat of ground is sufficient to show a mark from a metal point; more coats increase the response. I use four coats, and very lightly sand the final coat with #400-grit open-coat sandpaper.
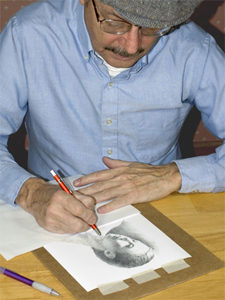
 Remove the paper from the stretching surface when it is completely dry! When I say dry I mean DRY! Treat the results as you would any high quality and very responsive drawing surface, and make sure your hands are clean and free of oils, or wear archivist’s cotton gloves. When drawing, use a cover sheet to reduce contact with the surface.
Experiment with the ground – You could apply the third coat with a sponge or splatter it with a toothbrush, deliberately making a textured surface somewhat like coquille board. The ground works on just about any support surface, including small blocks of wood. I’ve used it on canvas, and what a unique result! Caveat: I recommend bonding the canvas to a panel with glue size to keep it from distorting while drawing; even the softest silver point is still metal. Have the courage to play!
Adding color to grounds – You can tint your ground by adding liquid pigment such as Luma Brilliant Concentrated Watercolor. Some people have also used powdered pigment; mull the powdered pigment with a little bit of ground and water first before mixing it into the blend, or you’ll get spotting and streaking. Some people have also used colored inks. I don’t recommend paints such as gouache, pan watercolor, or acrylic, but that doesn’t mean you can’t experiment if you want to.
